Mid-Power Model Rocket Build
Name: Pointy McFlameyPants
Requirements
Carry one raw Large Chicken Egg to apogee and recover without breaking
Have 1.25 < stability < 2.5
Have a minimum off the rail speed (rail length 6 feet) of 75 ft/s
Have a time to apogee of less than 15.5 seconds from ignition (however the ejection charge can be shorter than 14 seconds)
Come as close as possible to the target apogee of 2,750 ft
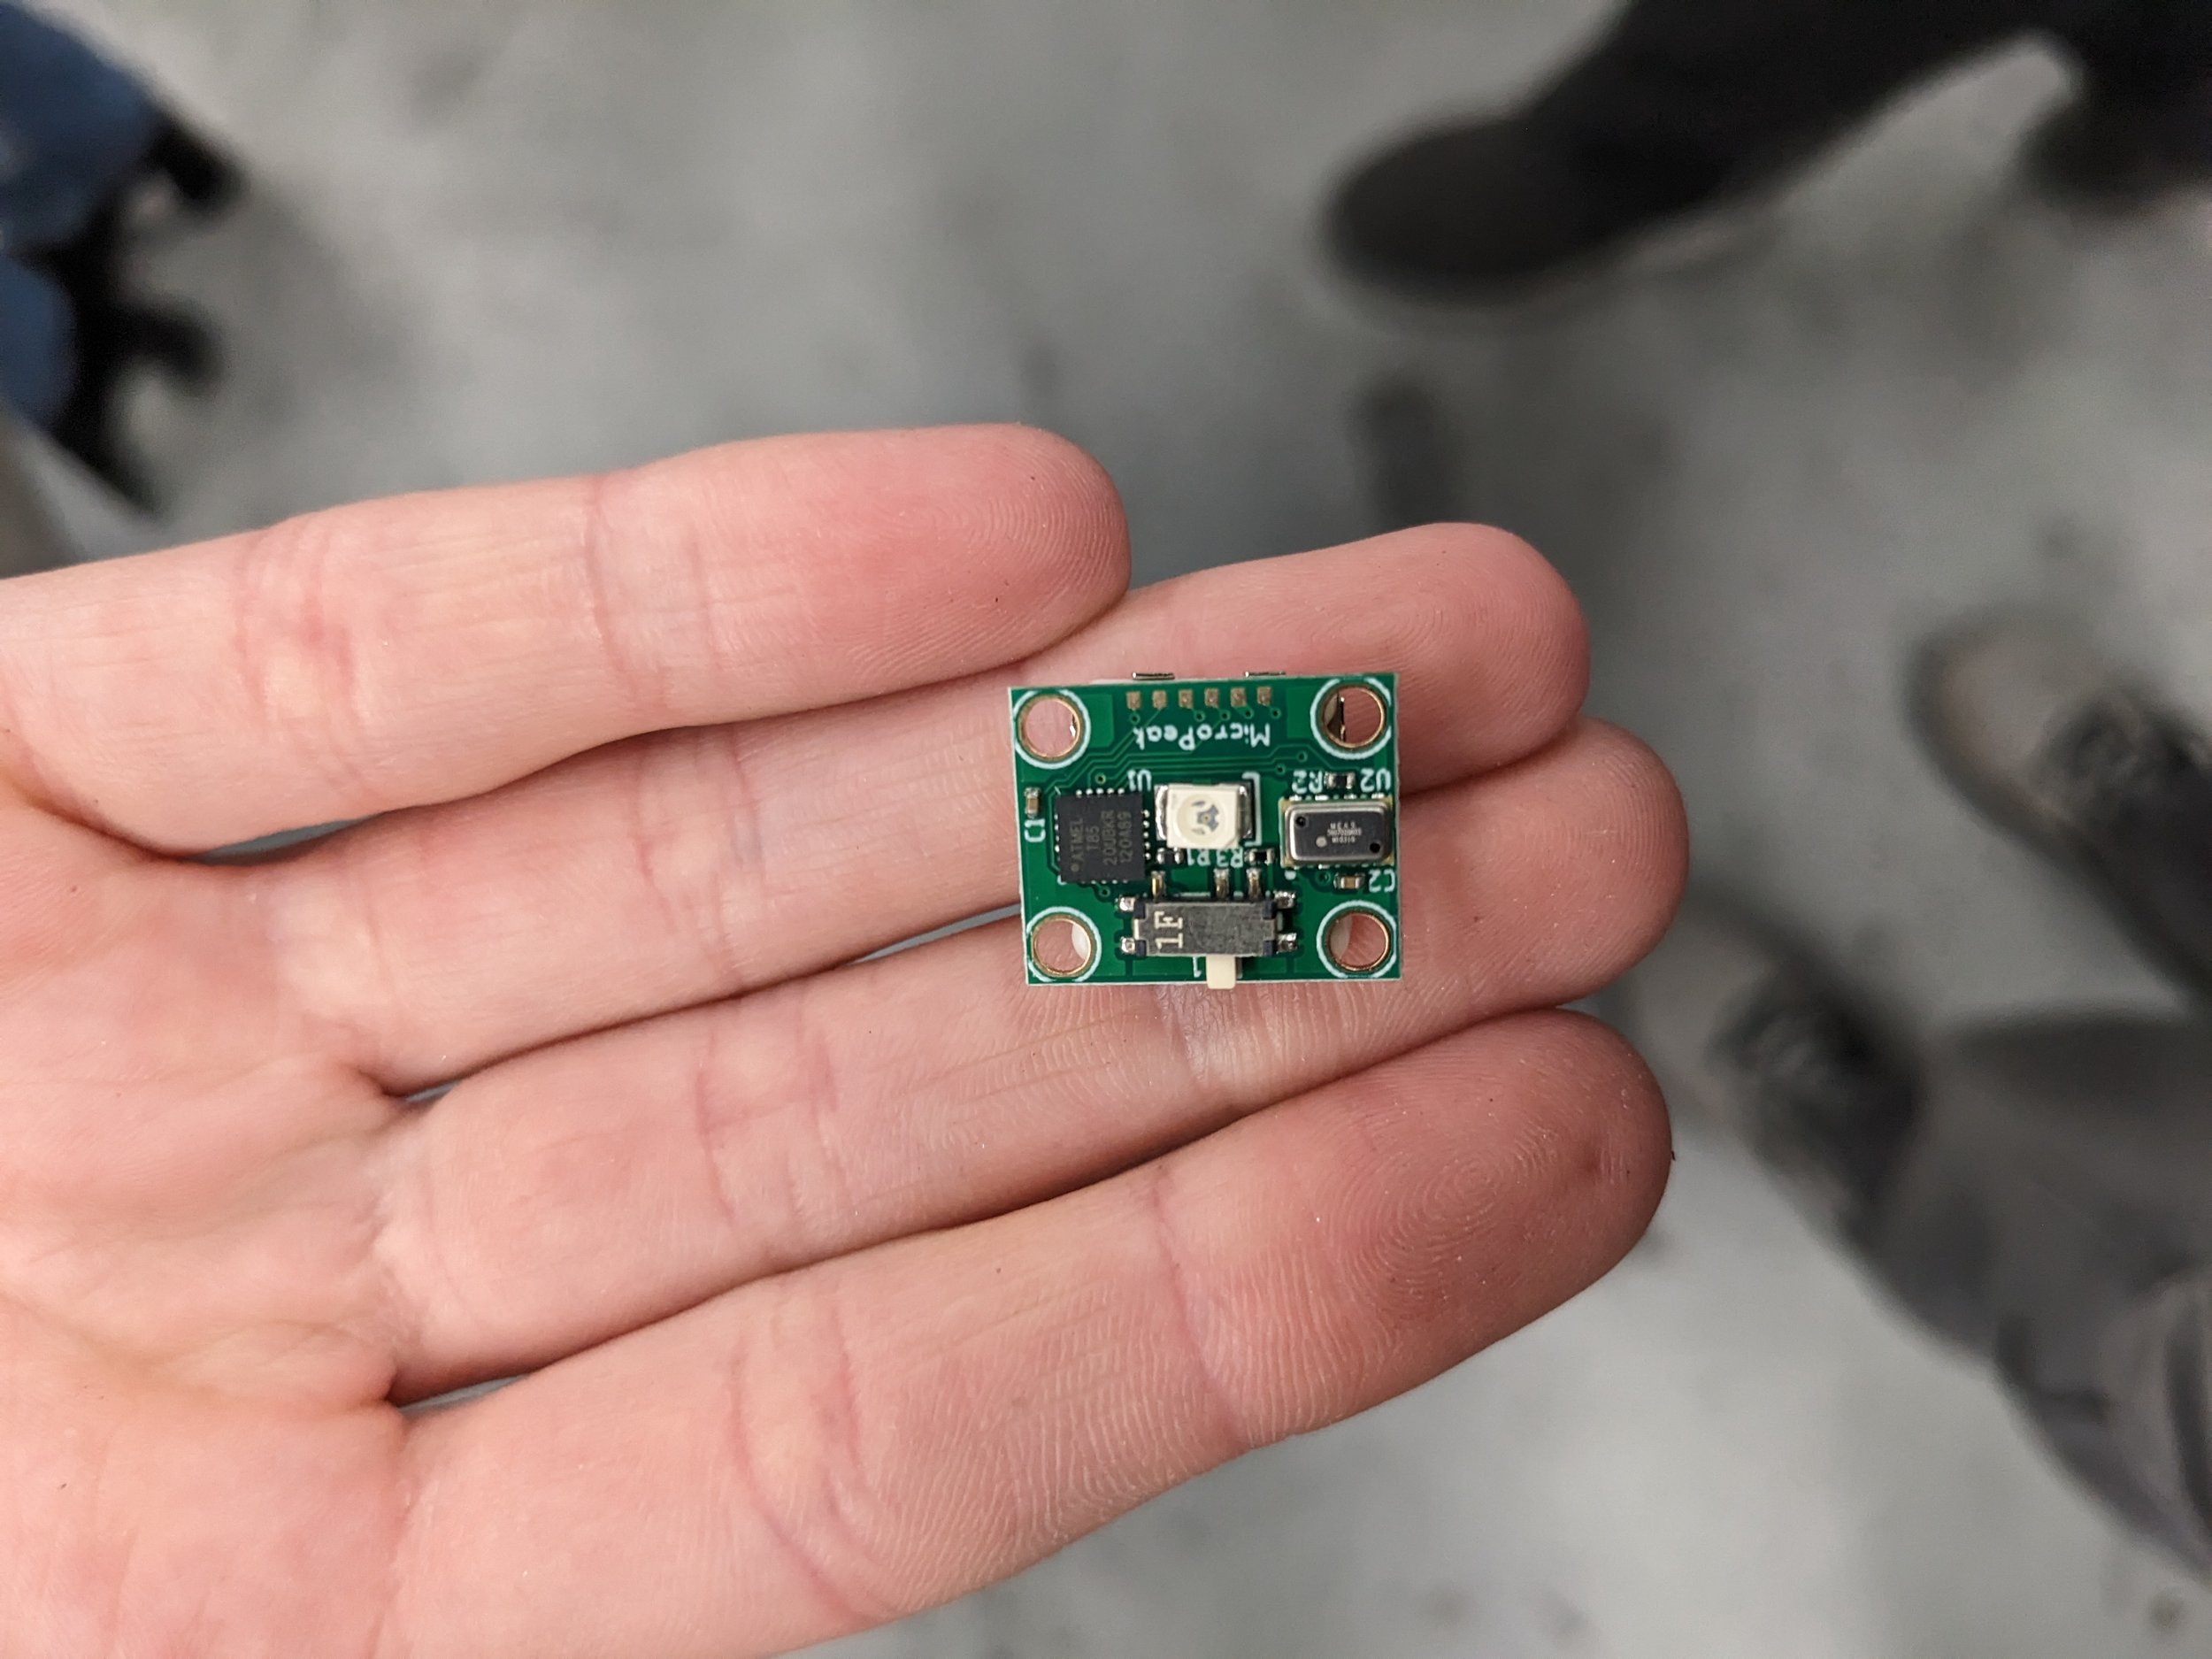
Carry an altimeter
Successfully sit on the launch rail using launch lugs without interference from the fins (1/4 in diameter launch rail, 6 ft approximate)
Use one single motor provided (Aerotech G80-10T)
Design
Preliminary design:
OpenRocket Design
We used the application “OpenRocket” to dimension the rocket and provide real-time analysis on its effects on the apogee and stability. It is a rough analysis, but it includes aerodynamics, mass elements, motor specs, materials, and even wind conditions. With this we were able to dimension an optimal nose-cone shape, body tube size, boat-tail size and fin shape.
Key Design Specs:
Nose-Cone: Von Kármán, 8” total length to fit within 3D printer
Body-Tube: 10” length, 2.25” diameter, this was a readily available mandril size that would give us just enough room for egg storage
Boat-tail: Improves stability and aerodynamics
Fins: Custom fin shaped found through trial and error
Simulation Specs
Altitude: 3145 ft
Flight Time: 207 s
Time to Apogee: 12.8 s
Velocity off Pad: 59.4 ft/s
Max Velocity: 622 ft/s
Final Design and CAD:
My primary job on the project was taking the general specs determined in OpenRocket, and designing in more detail how these components would fit together. Most of the design considerations went in the nose-cone and boat-tail.
Nose-Cone:
The shape we settled on was the Von Kármán (from the Haack series), which minimizes drag at a given length and diameter. This shape is depicted with the following equation:
Our payload (egg) and altimeter had to fit inside the nose-cone, as 14 seconds after the engine was depleted, an ejection charge would shoot forwards through the body tube to eject the nose-cone and release the parachute. The chute would be attached to a shock cord between the nose-cone and the body tube, leaving no place to safely store an egg or altimeter in the body tube. For protection, we chose to enclose our egg in foam.
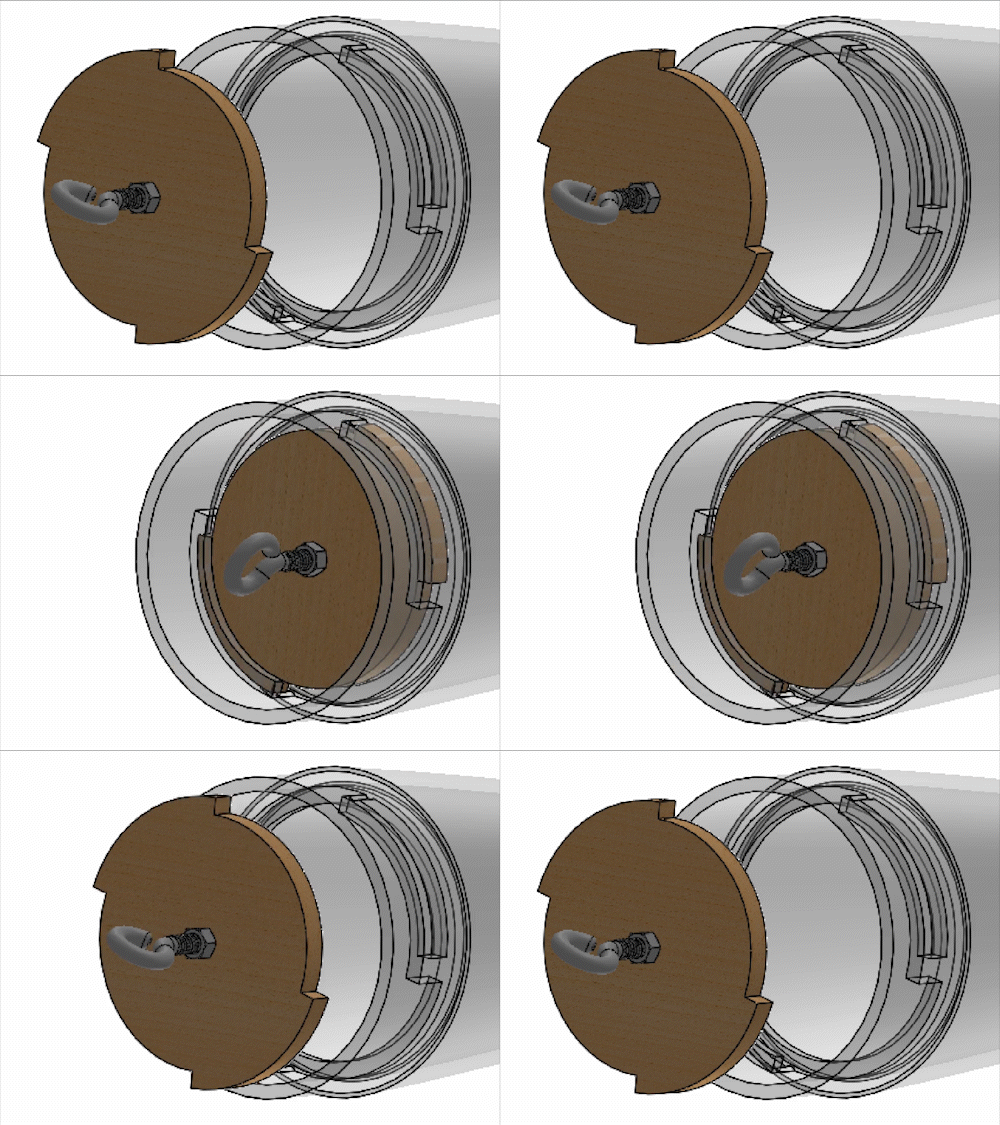
We quickly realized that to properly load the payload on launch day, the payload compartment needed to be quickly accessible and mount the shock chord.
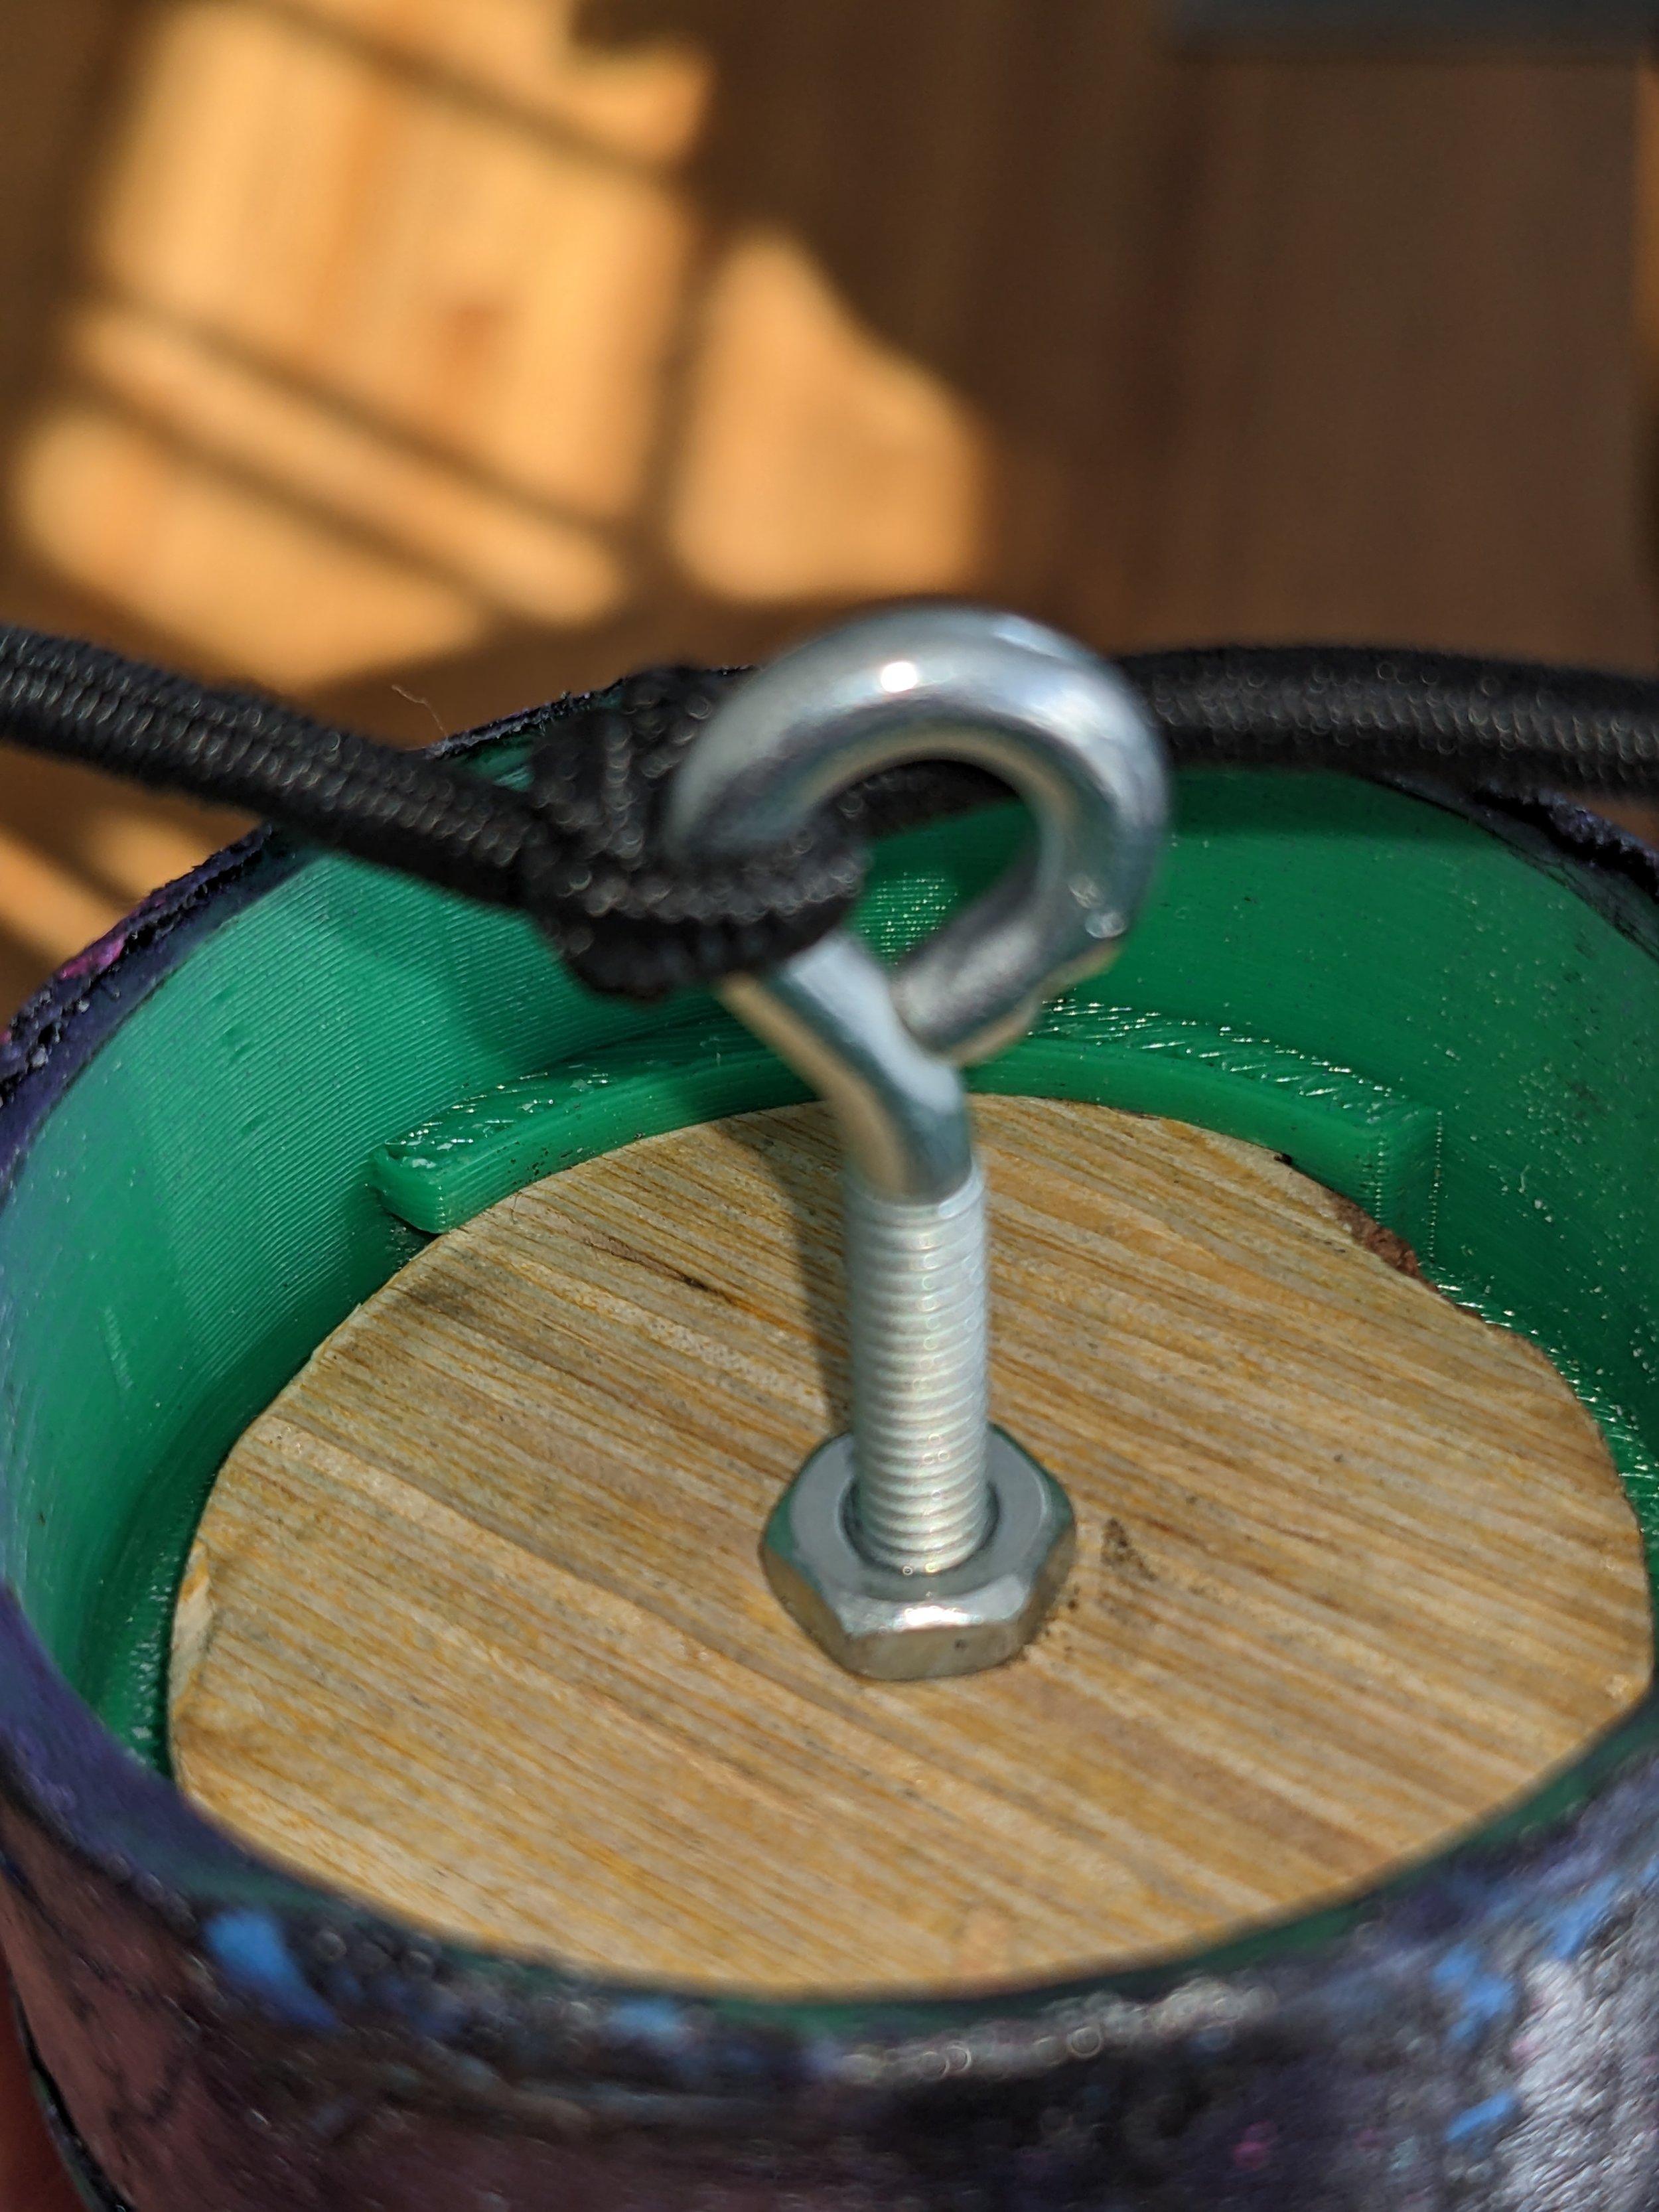
To meet this need, I designed a locking mechanism for the recovery bulkhead. I took inspiration from a camera lens cap, inverting the design to the outside of a cylinder. A ¼” piece of plywood would be laser cut to fit and an eyebolt mounted through the center to attach to the bulkhead.
Boat-tail and fins:
To reduce drag as much as possible, we decided to add a boat-tail and embed the fins within it. When searching for a sweet spot of stability and maximum apogee, we eventually settled on 4 fins in a custom shape.
We considered 3D printing the entire boat-tail and fins as one piece, as this would greatly reduce weight and manufacturing complexity. However, our past experience with a smaller model rocket proved plastic fins are delicate, easily burned by the motor, and any damage can lead to catastrophic stability issues. So for this design we thought it would be best to switch to plywood fins for the improved durability which would give us a better chance for a successful flight.
Fin and engine alignment is absolutely critical for proper flight stability. We were concerned about getting it all orientated just right. I came up with an idea to place grooves inside of the boat-tail for the centering rings to simply slide into, greatly reducing the chance of misalignment within the boat-tail. Vertical slots in the centering rings and boat-tail for the fins would further verify proper alignment. I also made sure to include some interior tubing on the exit of the boat tail to ensure a snug fit.
For the engine bulkhead, I dimensioned the neck of the boat-tail to match the length of the motor and again made a groove for it to fit snugly into. This would give us an easy assembly, use a minimal amount of material, and provide a healthy amount of surface area to epoxy to the body tube.
Manufacture
Nose-cone & Boat-tail: These were 3D printed, and lightly sanded smooth.
Fins, bulkheads, centering rings: Laser cut ¼” plywood and sanded down the leading edges.
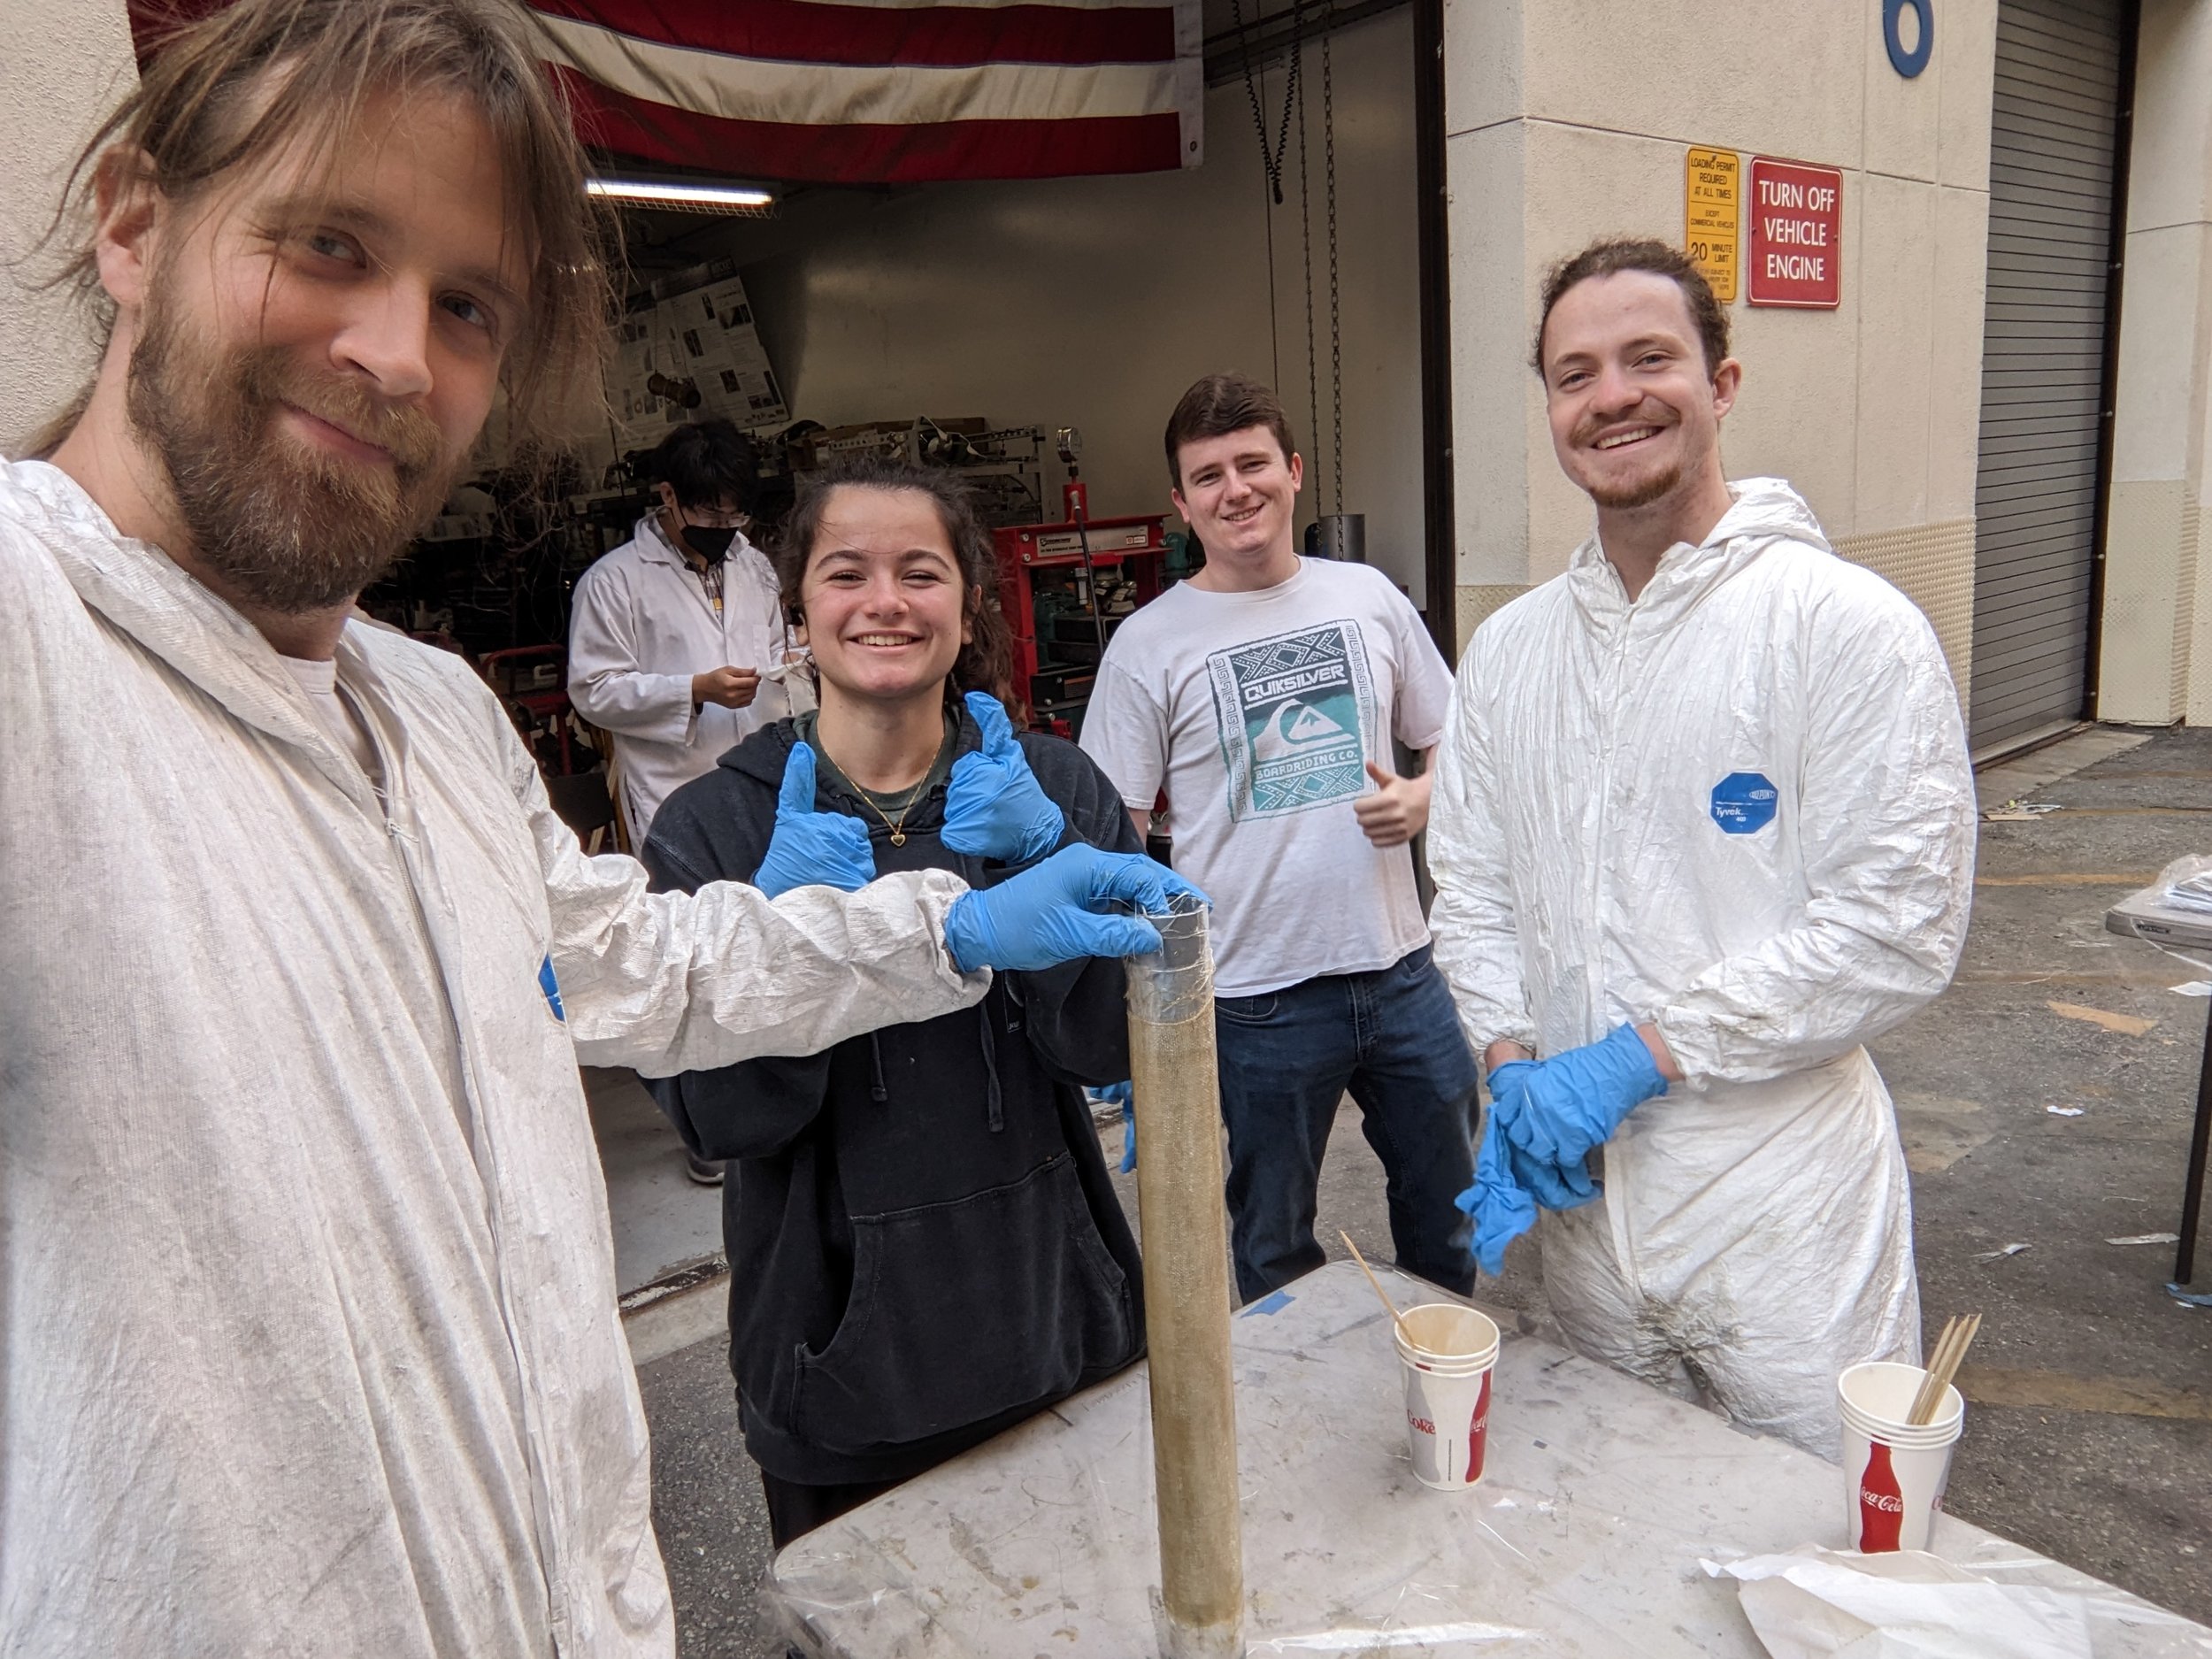
Body Tube: 3 layers of fiberglass layup on 2.25” mandrill. Once dry, we used a dremel blade to cut to size.
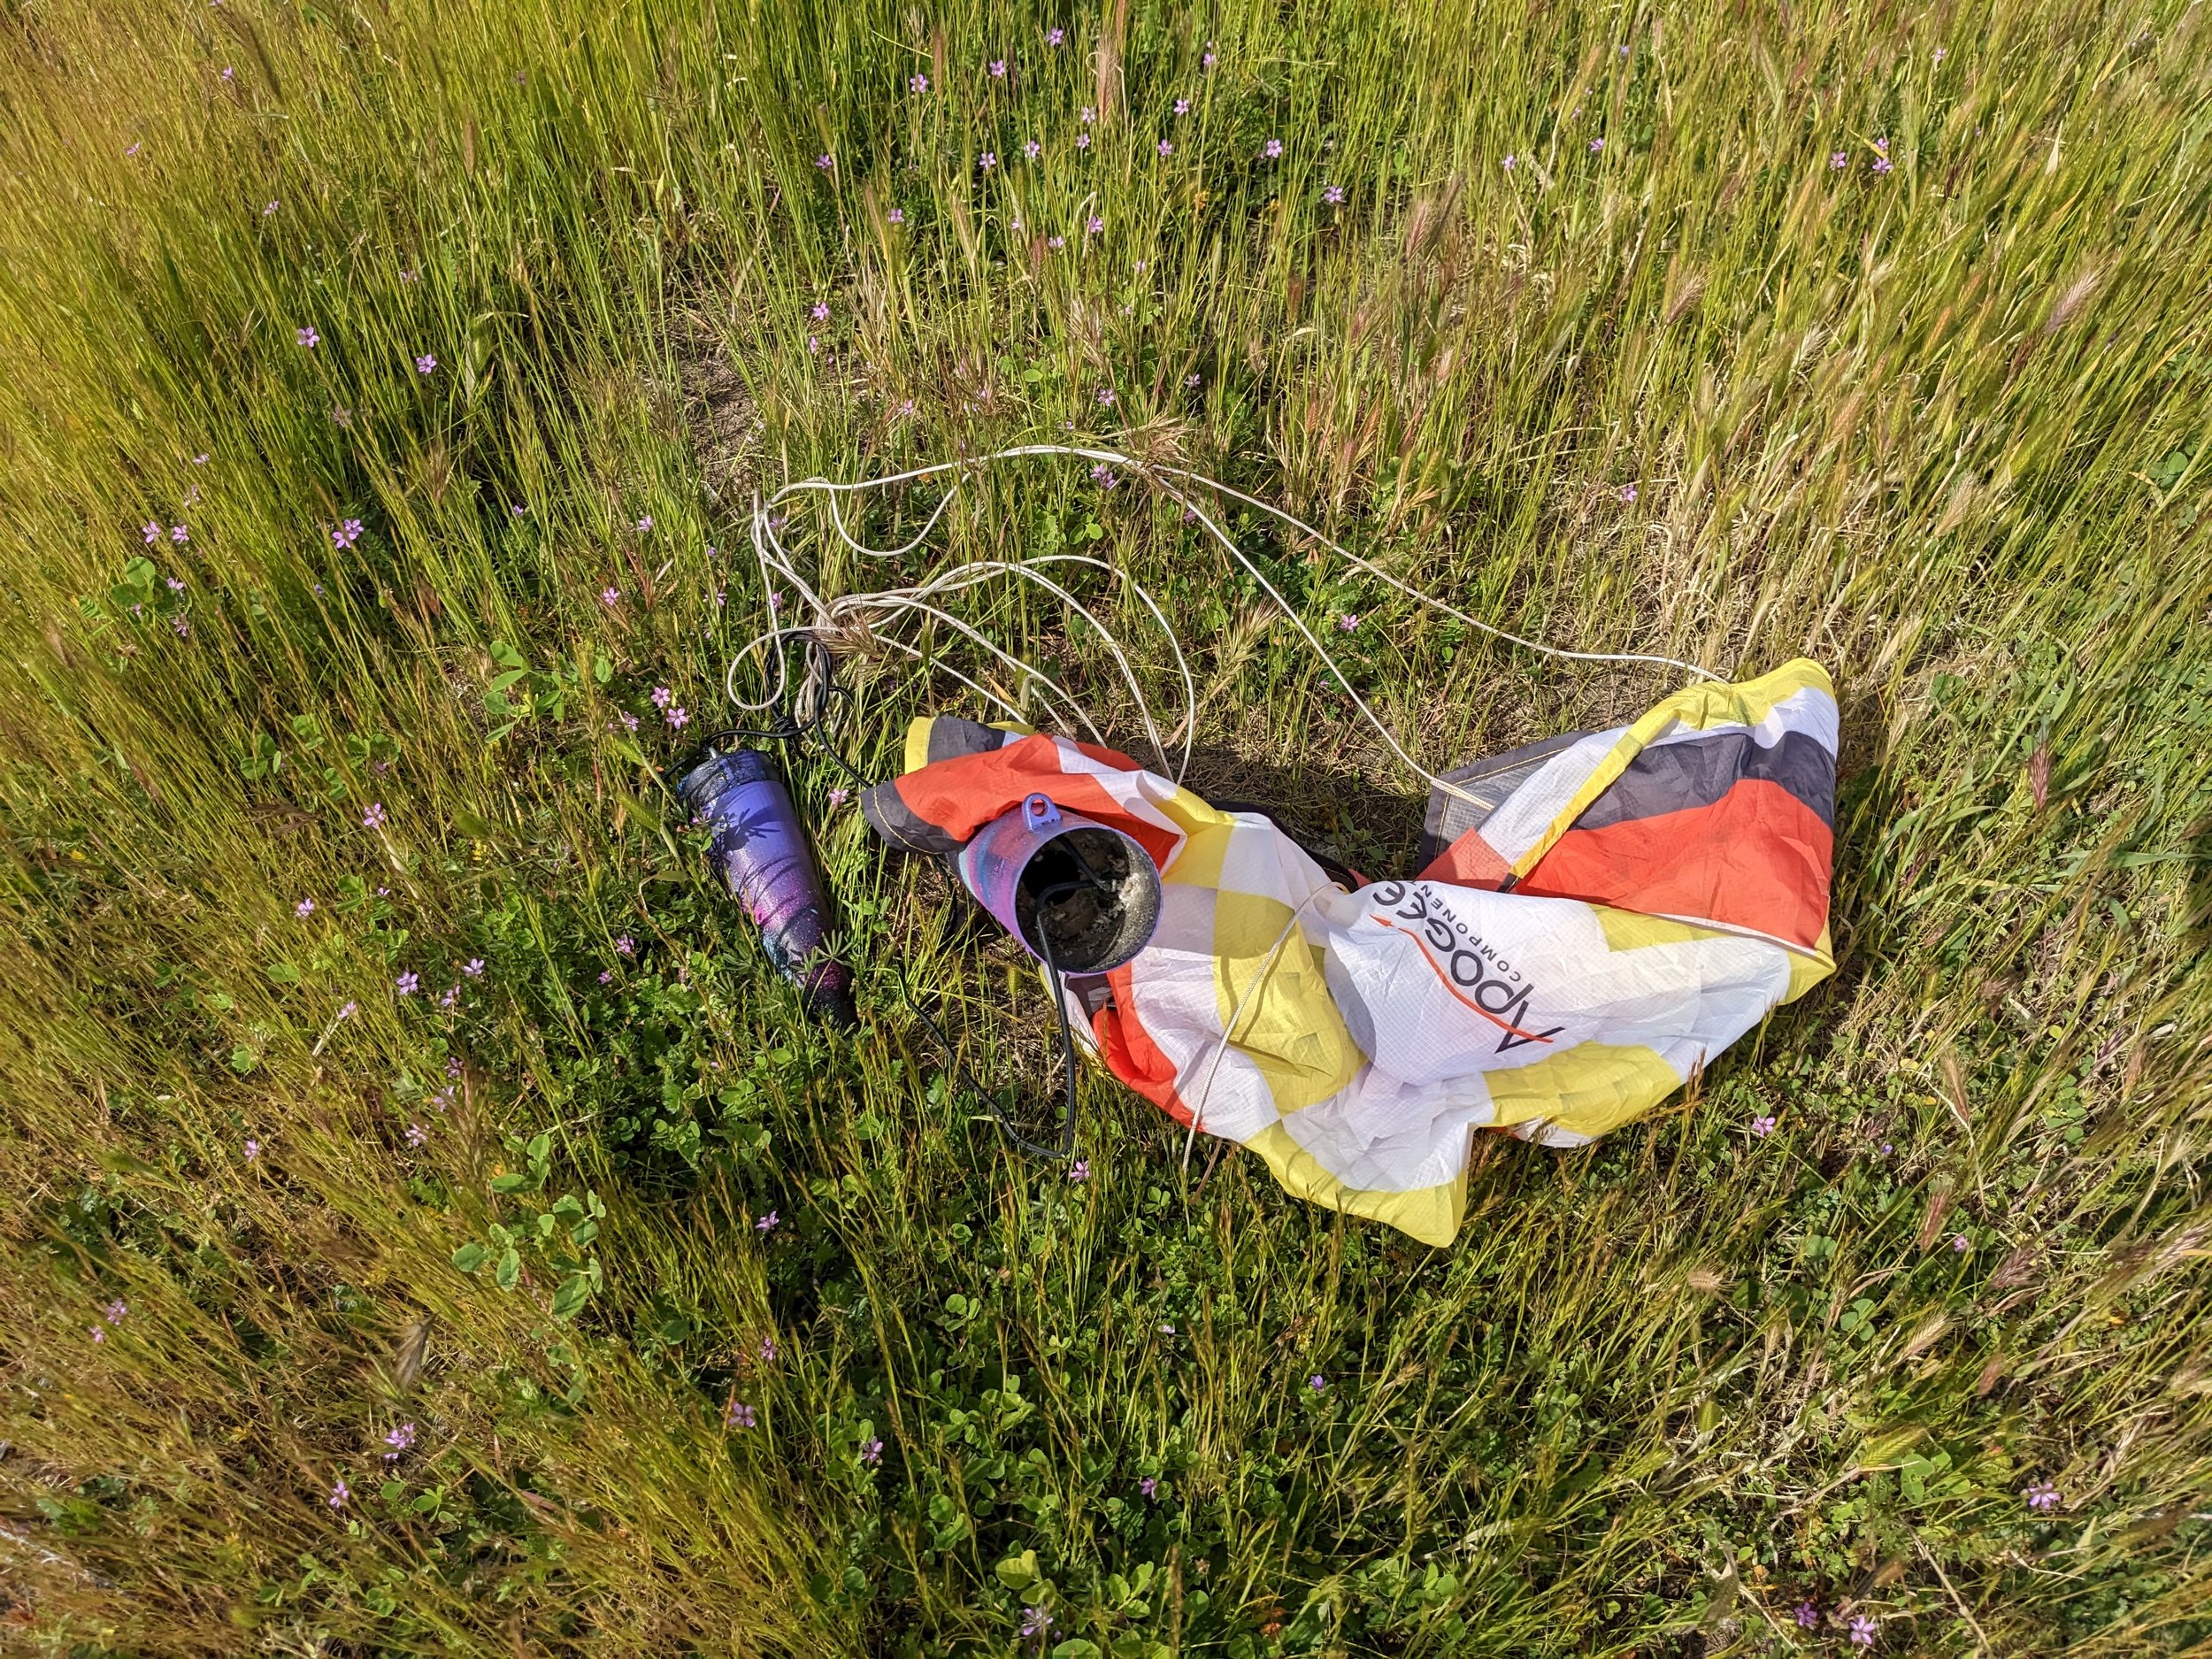
Finishing touches: We ended up with an 80’s splatter style paint job : )
Flight
For our final preparations we packed the egg in the foam housing in the nose-one and taped the altimeter inside the inner wall. The locking mechanism worked perfectly and was extremely convenient.
Next, we packed the parachute, and this is where we became worried. It was a very tight fit, we did not leave enough space between the nose-cone and the recovery bulkhead inside the body. Luckily it did fit together just barely, so we were able to proceed with the launch.
Our launch went very well, our trajectory was straight and stable, which was very satisfying to witness! Unfortunately it flew straight into a cloud and we all lost sight of it during the chute deployment. On descent, it finally came into view and it was clear that the parachute had not deployed properly.
However, upon recovery we were very pleased to find the entire rocket had survived, including the egg! Mission accomplished!
Flight Data:
As you can see, our descent rate was almost equal to gravity, not a great outcome. We were still very pleased with the apogee and max speed, our design considerations really paid off.
Our flight data showed a perfect ascent, except between 3 and 5 seconds it suddenly had positive acceleration again? We’re not entirely sure what happened there, the rocket may have tumbled while it was behind the cloud or a gust of wind affected it?
Review
Our launch went very well, but there is certainly room for improvement.
Improvements:
Larger recovery bay, the parachute was packed too tightly, this likely led to a poor deployment.
Manufacturing: If we were to build this again, it would be wise to not 3D print or laser cut components until after the body tube layup. That way you can measure the exact dimensions and get a more precise fit. Several parts had to be re-done because the body tube ended up with an slightly wider diameter.
For greater visibility, adding pretty streamers to the shock chord could make for easier tracking in the sky!


